With UI
Once you've downloaded the latest version of LightningBot, follow these steps to initiate the installation process:
- Double-click the downloaded
ui.exefile. The installation will start, and you'll encounter the following screen:
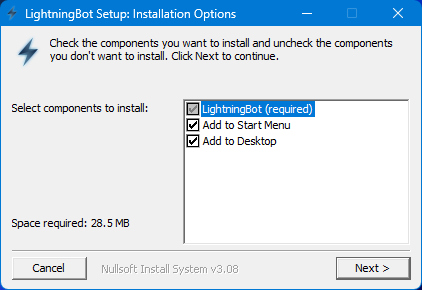
- Here, you can choose whether you want LightningBot to be added to your Start Menu and Desktop. Make your selections, then click
Nextto proceed. You'll then see the following screen:
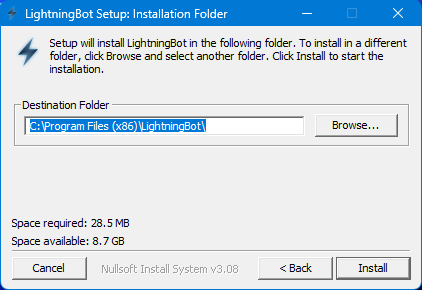
-
Select the folder where you want LightningBot to be installed. The default location is
C:\Program Files (x86)\LightningBot. After making your choice, clickInstallto start the installation process. -
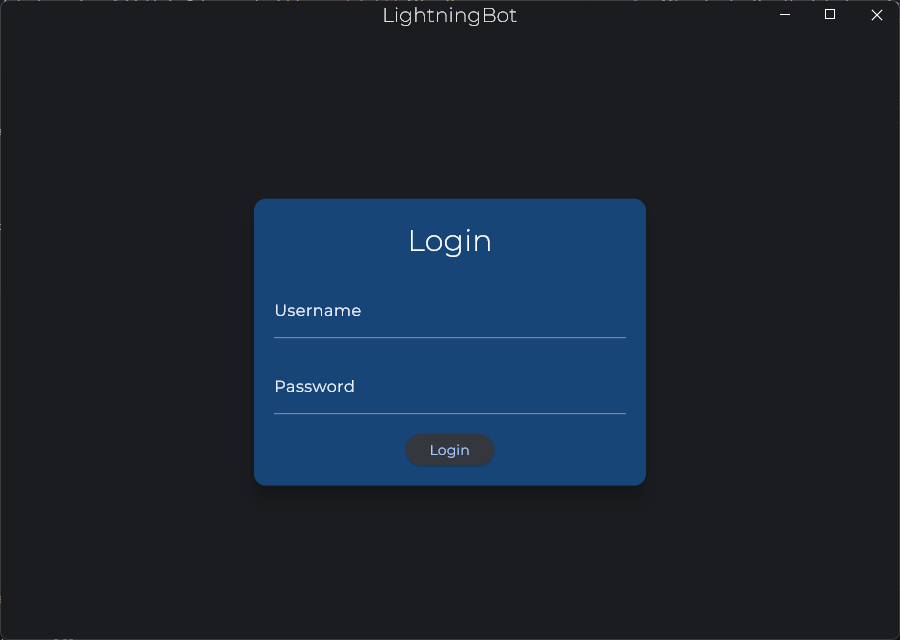
Upon completion of the installation, click
Close. You can now launch LightningBot from your Start Menu, Desktop, or by using the Windows search bar. You should see the following screen:
Now that you've successfully installed LightningBot, you can proceed to the Setting Up page for further instructions.